
Disclaimer: This mod was tested by the writer of this post. Please try it at your own risk. RetroRGB.com (or any of its writers) aren’t responsible for any damage you do to your tools, computers, or PVMs. This mod is fairly simple, in both concept and execution. In addition, it requires no soldering! This is a great mod to do if you would consider yourself fairly novice with working on electronics. Additionally, the results are spectacular!
Enjoy!

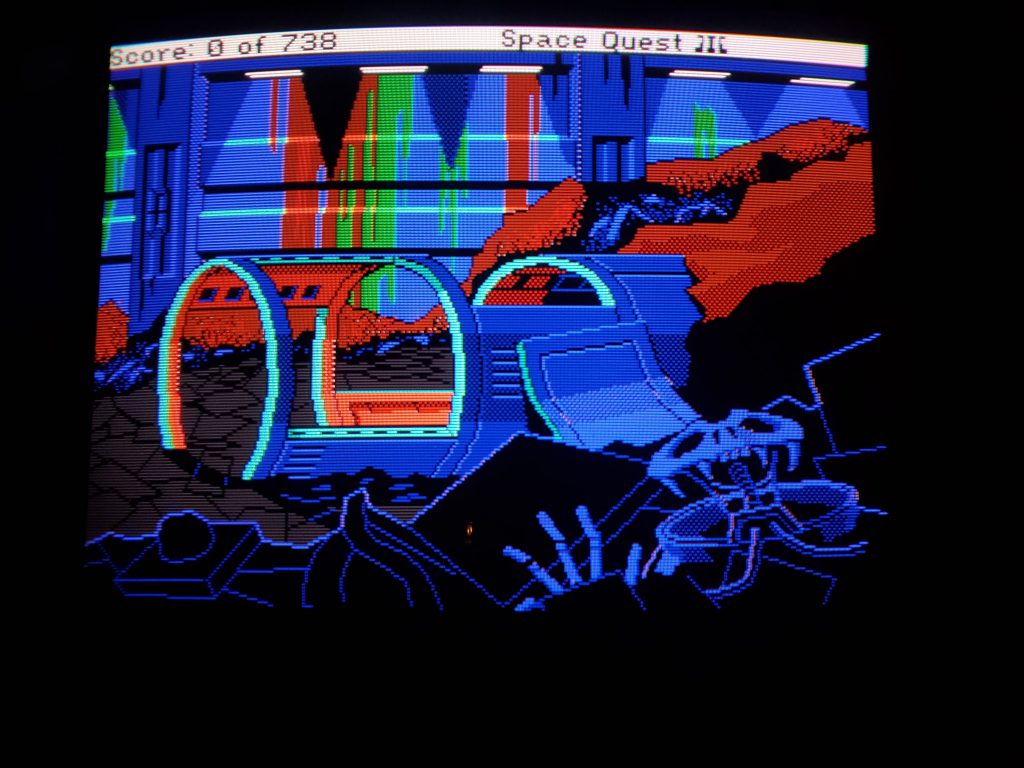
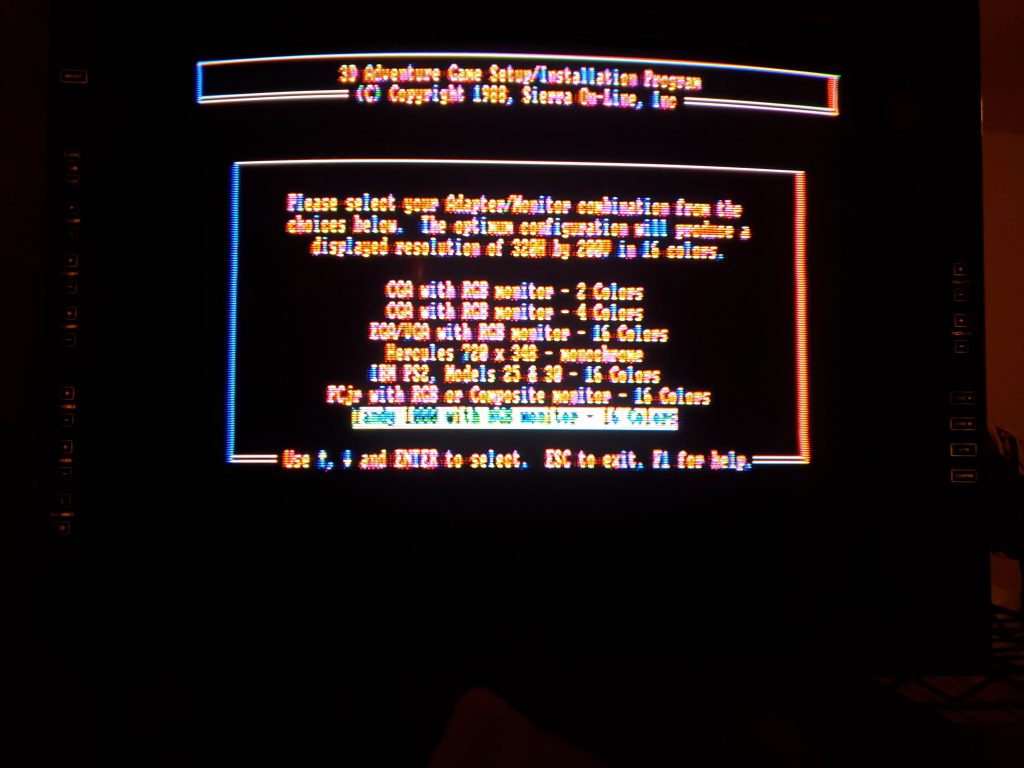
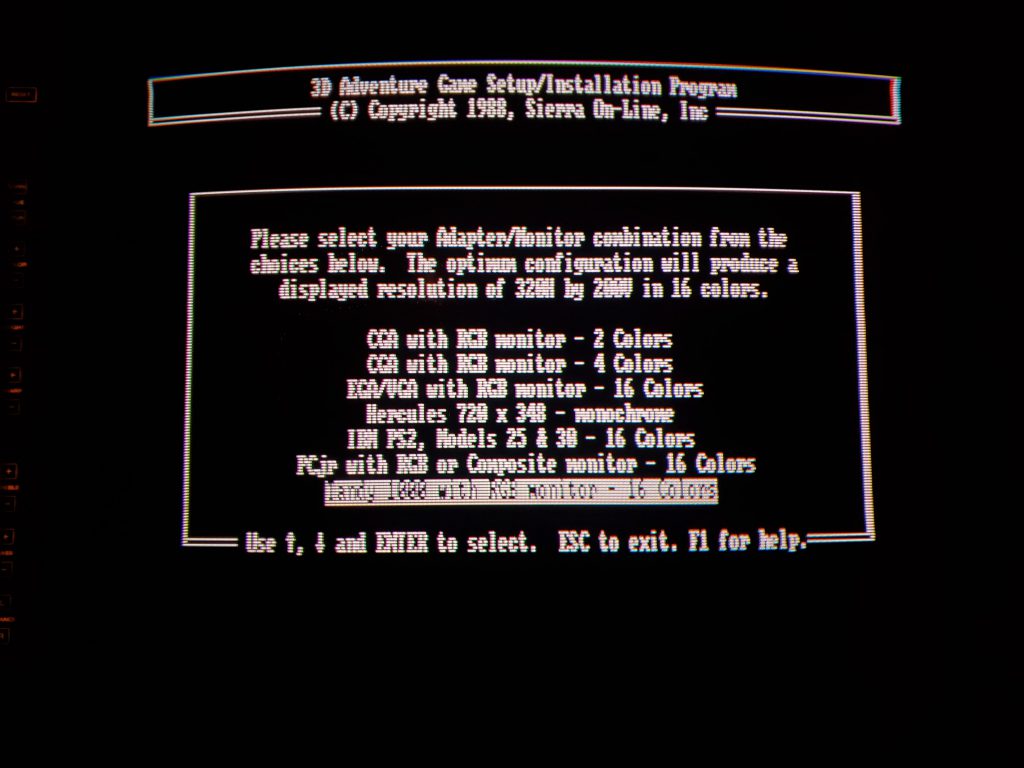
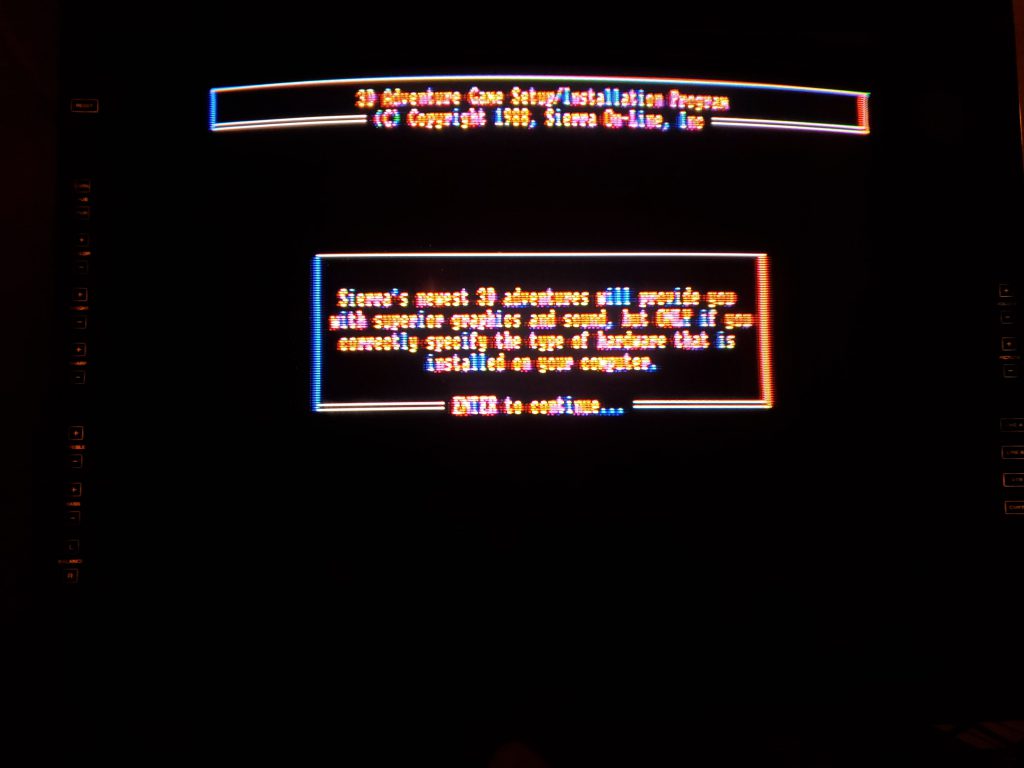
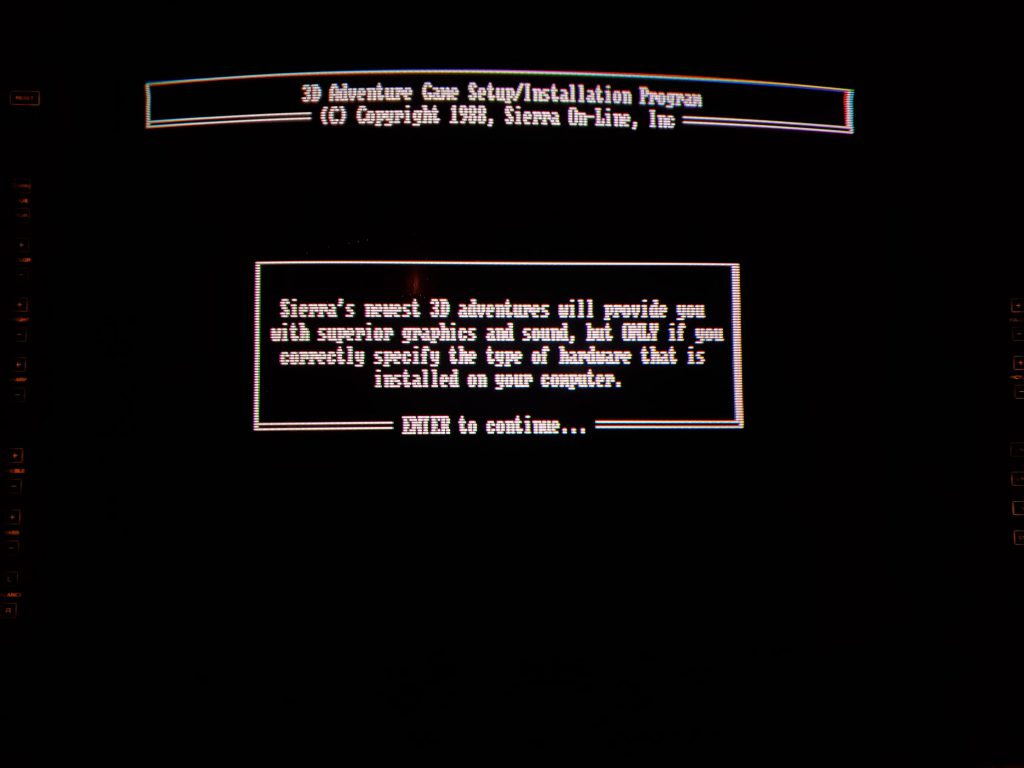
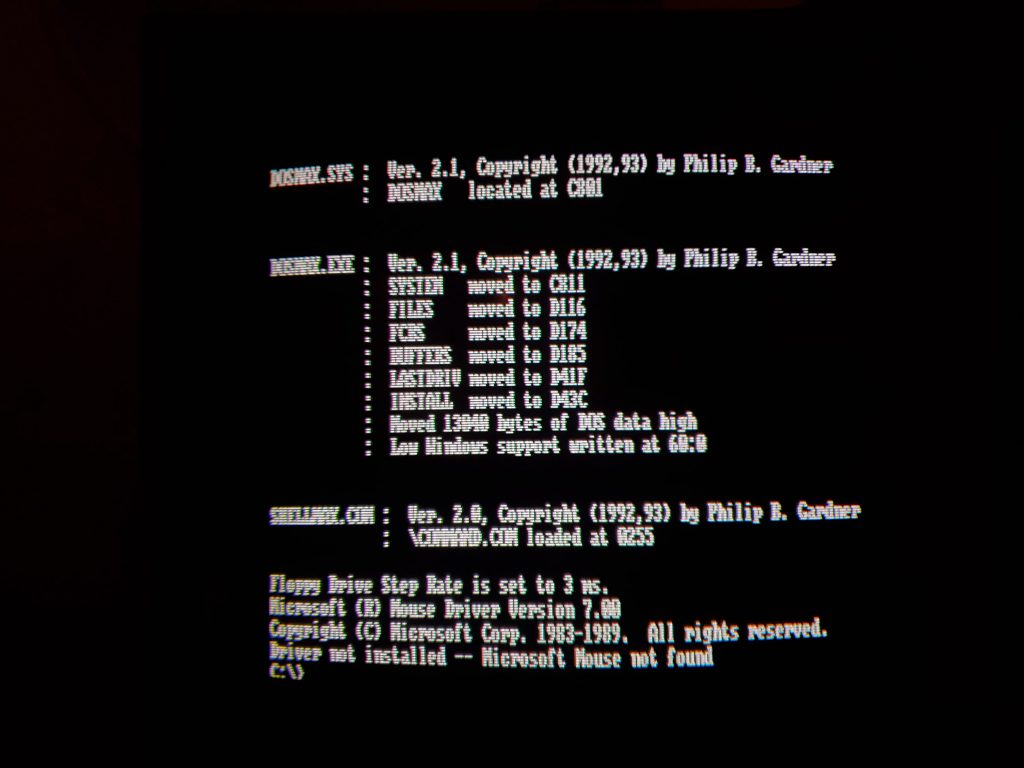
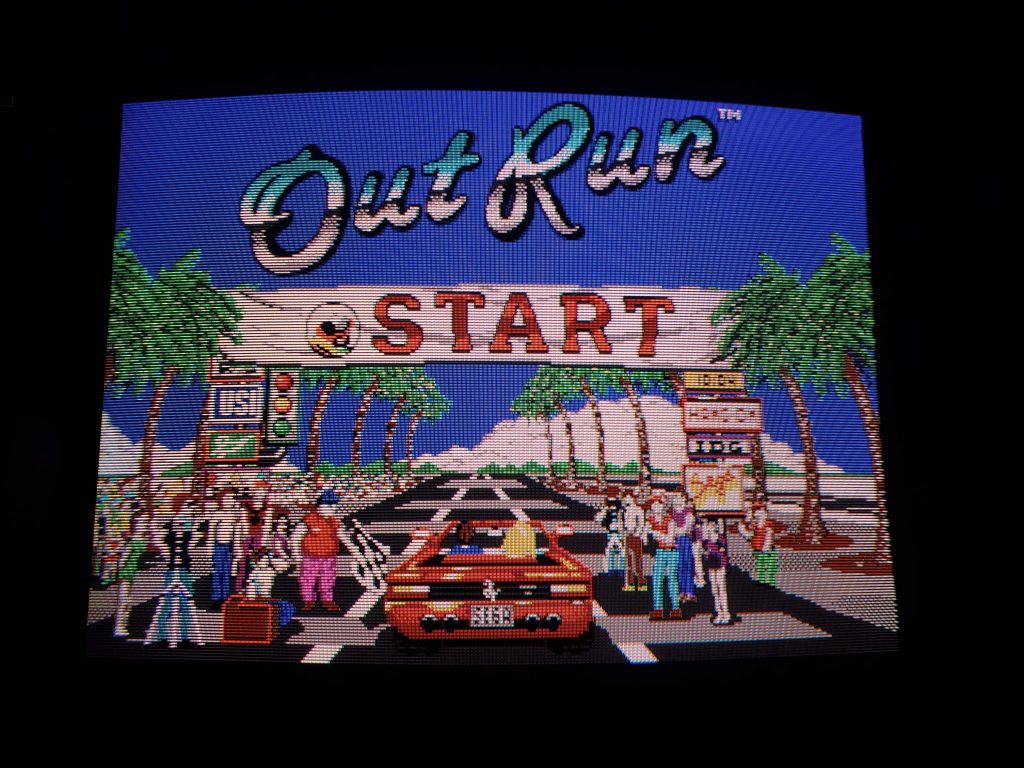
If you are lucky enough to own a PVM with a “CMPTR” (Sony DB25 Microcomputer RGBI/RGBS) port, such as a PVM-2530, PVM-1271Q, PVM-1910, and many others, and a CGA outputting computer, such as an IBM XT or compatible (like the lovely Tandy 1000 line of computers), this simple DIY cable will turn that PVM into a fantastic CGA monitor! As can be clearly seen below (a Tandy 1000 EX displaying composite vs RGBi (CGA) on a PVM-2530), the results are truly a sight to behold.
Composite:
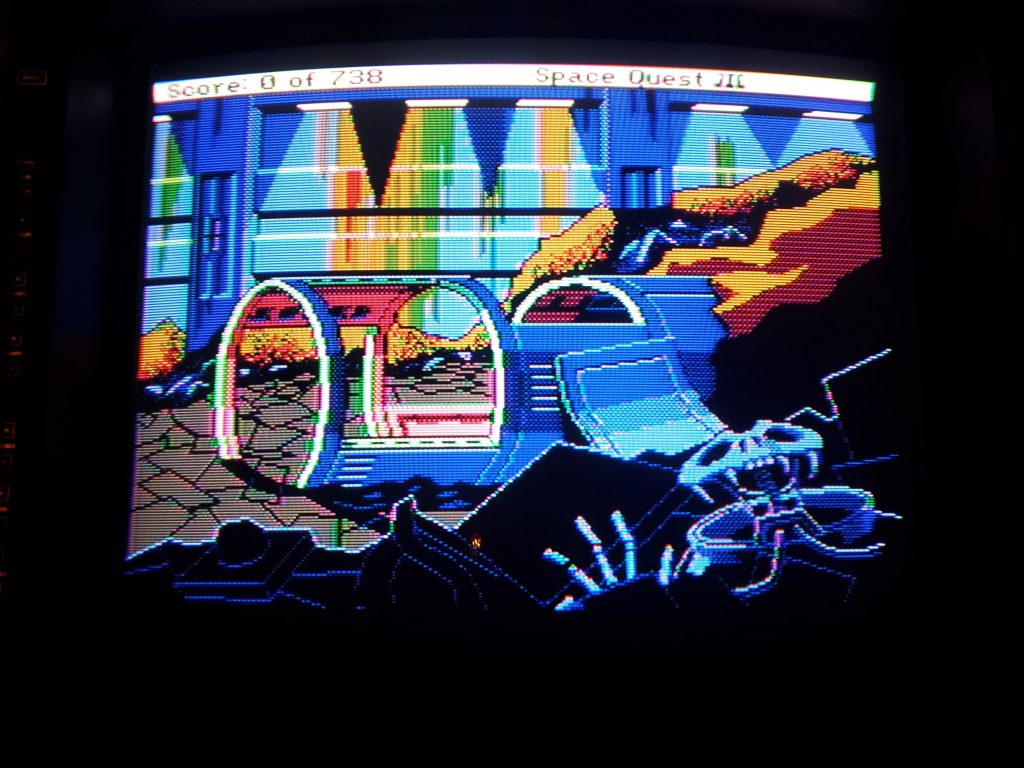
RGBi (CGA):
Composite:
RGBi (CGA):
As CGA monitors are becoming incredibly difficult to find in decent working condition, this mod is incredibly useful for vintage computer enthusiasts.
Parts and tools required:
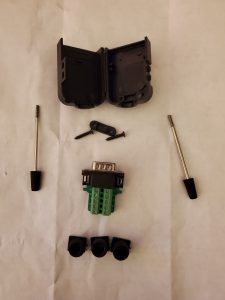
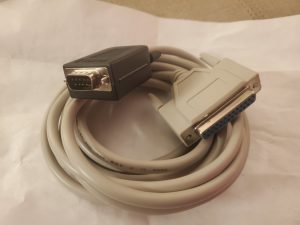
- A screw post DB9 connector
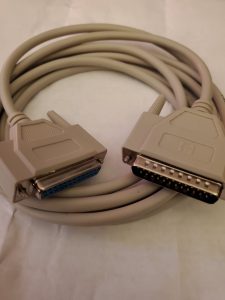
- A DB25 cable
- Wire cutters
- Wire strippers
- Digital Multimeter

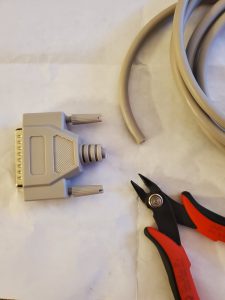
First, cut off one of the connectors. If you use the male to female connector linked above, be sure to cut off the female end as the male end is what will connect to the PVM.
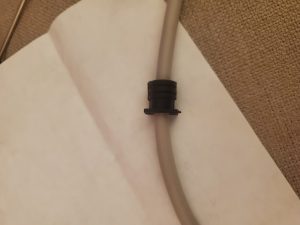
Next, add the strain relief piece from the DB9 connector to the DB25 cable.
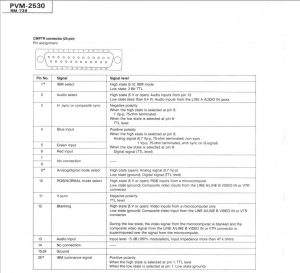
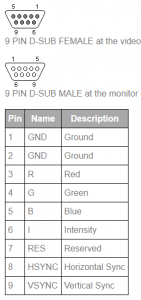
Now, strip the DB25 cable to expose the wires. Use your DMM to find the conductors we will be using for this cable (Red, Green, Blue, Intensity, HSYCN, VSYNC, and Ground). A DMM with beeping continuity test makes this much easier.
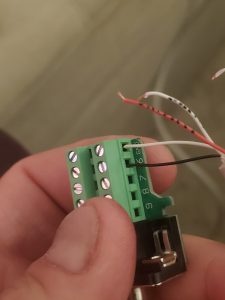
Once all needed conductors are found, you can start inserting them into their clamp slots, then screw the post down. Alternately, one could solder them to the pin below the PCB.
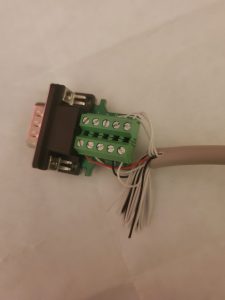
Once completed, you’ll have a messy little cable that looks like this! This is a great time to double check continuity from pins on one side of the cable to the other to assure you made no mistakes. If it tests well, feel free to test it on your computer and PVM. Does it looks right? Exciting stuff if it does! Now, let’s finish this little cable up!
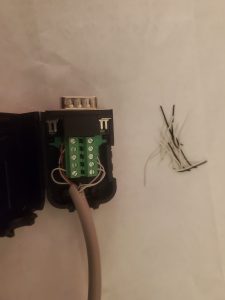
Trim the unneeded conductors and insert the PCB into the shell. Have plenty of wiggle room to account for the two strain relief pieces? If not, make the necessary adjustments. Take note of where the two-part-screw-together strain relief piece will need to go, then attach.
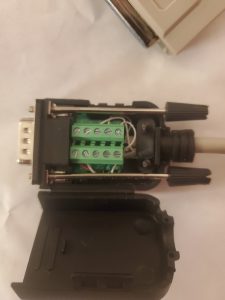
Slide the rubber strain relief piece we added earlier down until it lines up into its slot, then add the connector’s locking screw posts back in.
Snap it closed, and you’re done! Do a final test, then pat yourself on the back and play some vintage computer classics. 🙂
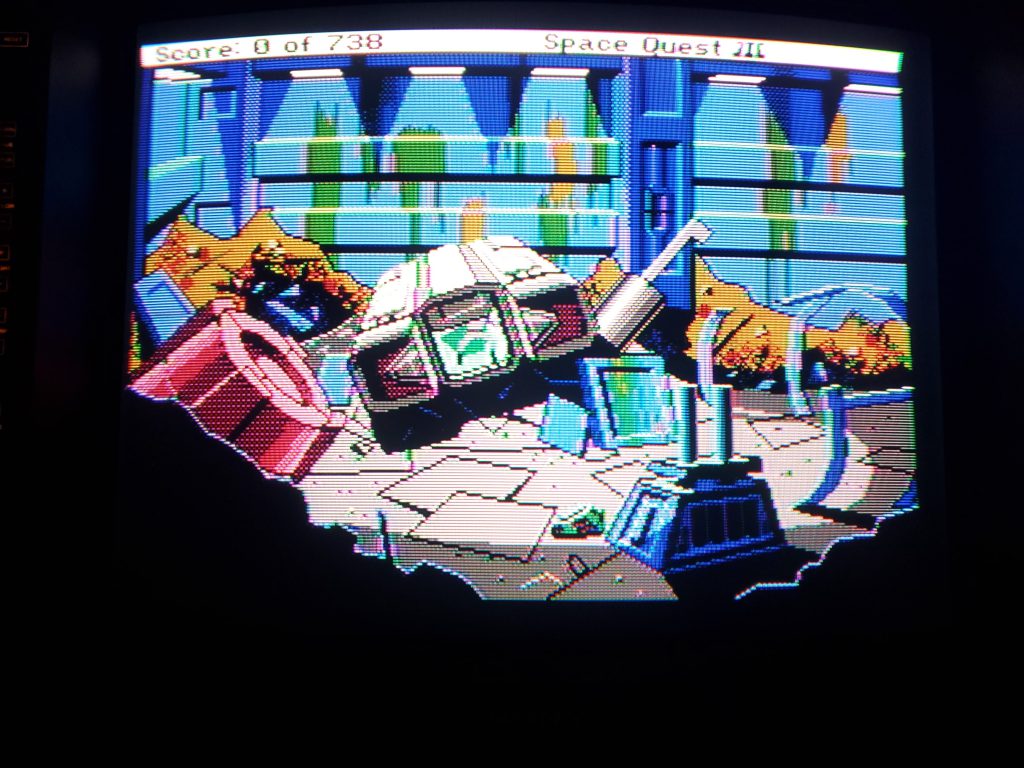
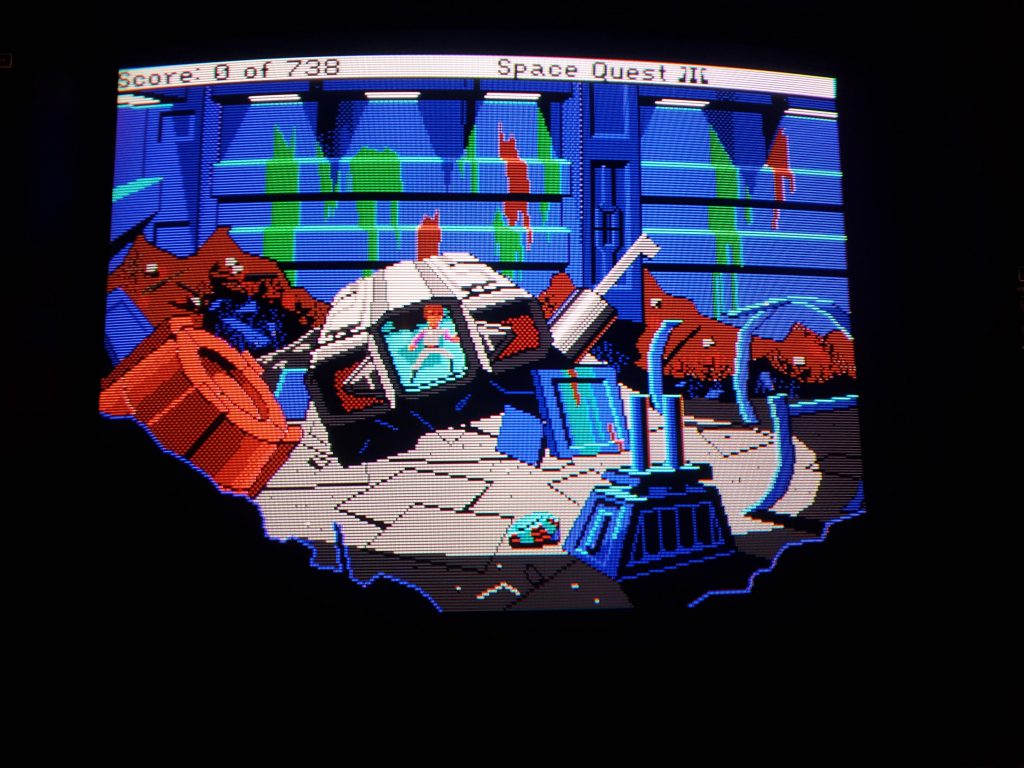
More composite vs RGBi (CGA) comparison shots below. As before, Tandy 1000 EX displaying composite vs RGBi (CGA) on a PVM-2530.
Composite:
 RGBi (CGA):
Composite:
RGBi (CGA):
Composite:
RGBi (CGA):
Composite: 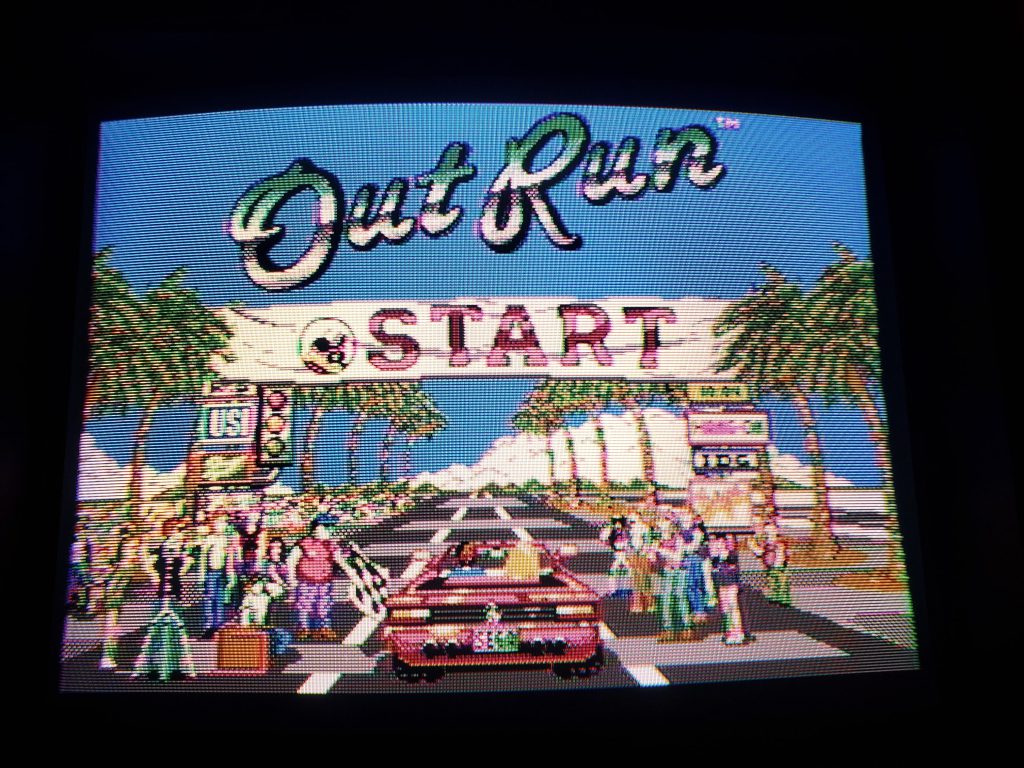
RGBi (CGA):
Composite:

RGBi (CGA):
Enjoy your new cables, vintage computer fans!!