
On my own blog, I’ve noted that the Pioneer LaserActive is one of the toughest nuts for upscalers to crack. It combines a game library consisting of fast-paced FMV crosshair shooters and quick-time event games like Triad Stone all in 240p, with a need for high-quality 480i deinterlacing for its use as a LaserDisc video player. All of this must be done over composite video, the “native language” of the LaserDisc video format, which can make matters particularly complex when using it to play Sega Genesis games, since that system’s timing causes issues with composite video. Since Mike Chi’s past RetroTINK devices have had good handling of composite video, I was pretty excited to try his newest device.
240p video
I don’t think you need this post to tell you that the RetroTINK-5X handles 240p brilliantly, and this is true over composite video too. It gets a gold star as the first composite scaler designed for retro gaming I’ve seen to successfully decode colors in all of the Genesis’ video modes; my usual challenge here is the title screen of EA’s Blades of Vengeance, which both the FrameMeister and the RetroTINK-2X get the colors completely wrong. Compared side-by-side, the difference is stark.
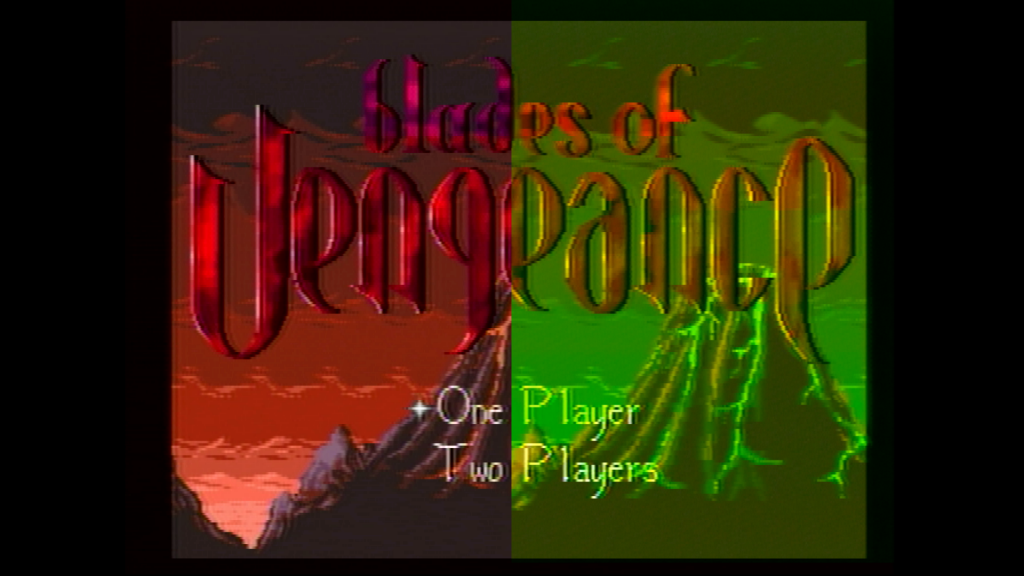
Yes, that title screen is supposed to be red and purple. Note that I’m using “Generic 4:3” sampling here; I find I prefer that for composite video with the RetroTINK-5X, since the original signal is not going to be able to reconstruct a pixel-perfect image, but this is just a matter of preference.
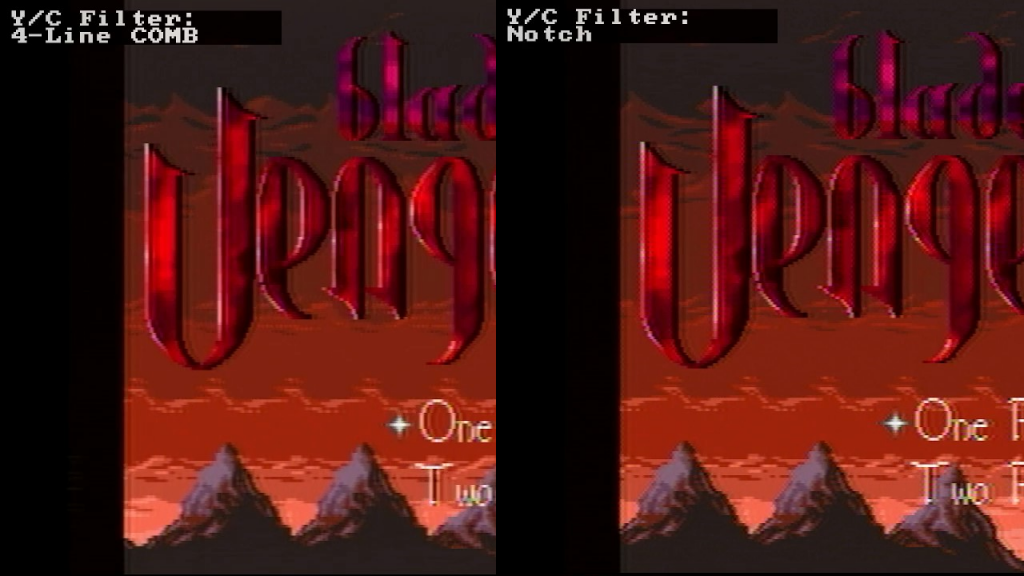
One thing I did notice on the Sega Genesis (PAC S-1) signals in particular was that the comb filter made the chroma dots visible. (Look in the “L” of “blades” in particular) This didn’t seem to be an issue when playing LaserDisc video or when using the PC Engine (PAC N-1), and the comb filter looks pretty good here, but it feels worth noting, especially since the notch filter was often the better option when using the RetroTINK-2X Mini with the LaserActive.
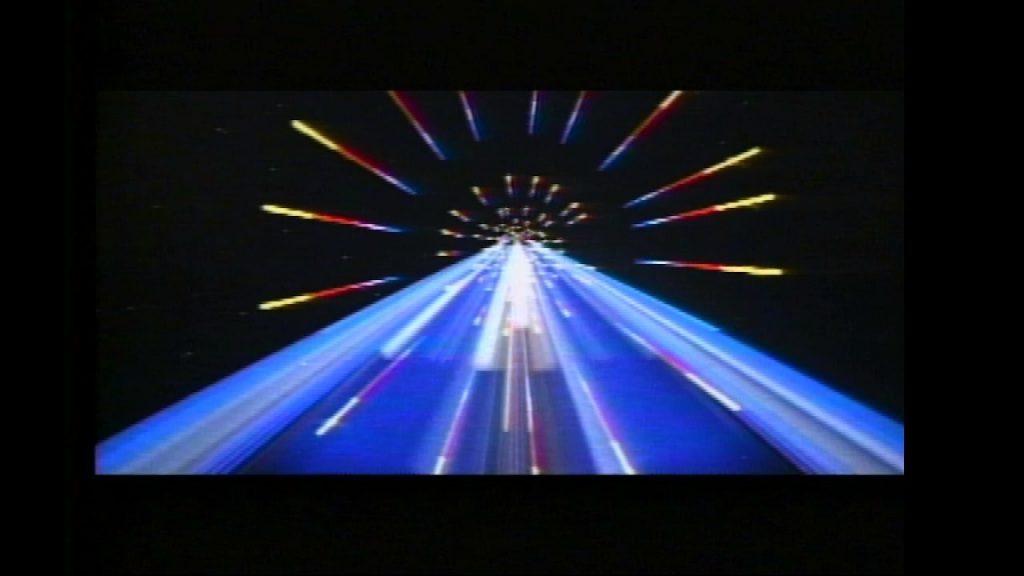
FMV Games
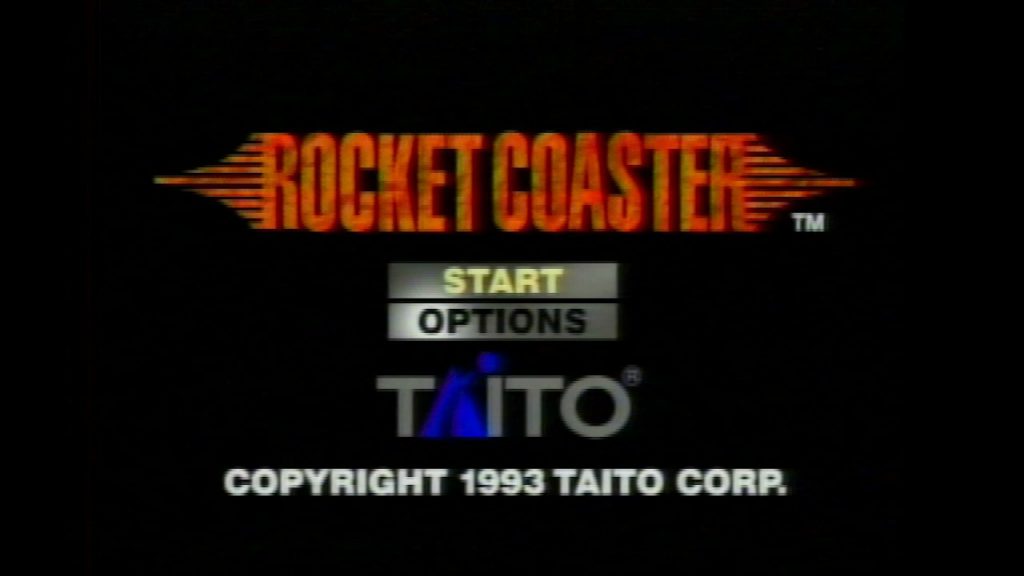
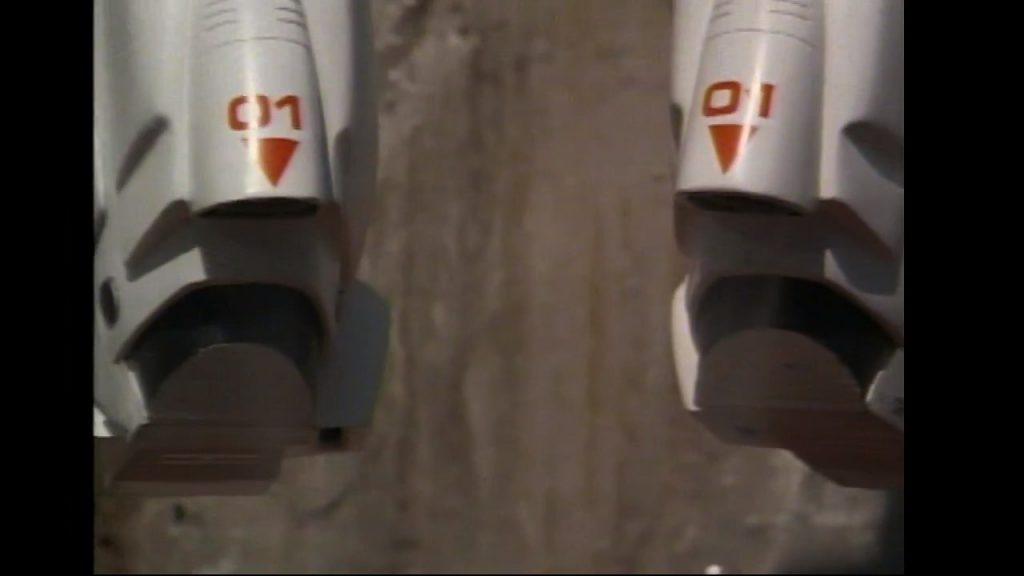
FMV games for both PACs looked pretty great; again I primarily used the “Generic 4:3” upscaler. The video portions of the LaserActive are analog video, so pixel perfection isn’t a thing. You might notice the above screenshot looks pretty blocky in the vertical axis; this is especially evident on the word “OPTIONS”. LaserActive games like Rocket Coaster are actually 240p analog video, so this isn’t a deinterlacing issue. It is, however, a good opportunity to try out some of the other interpolation options.
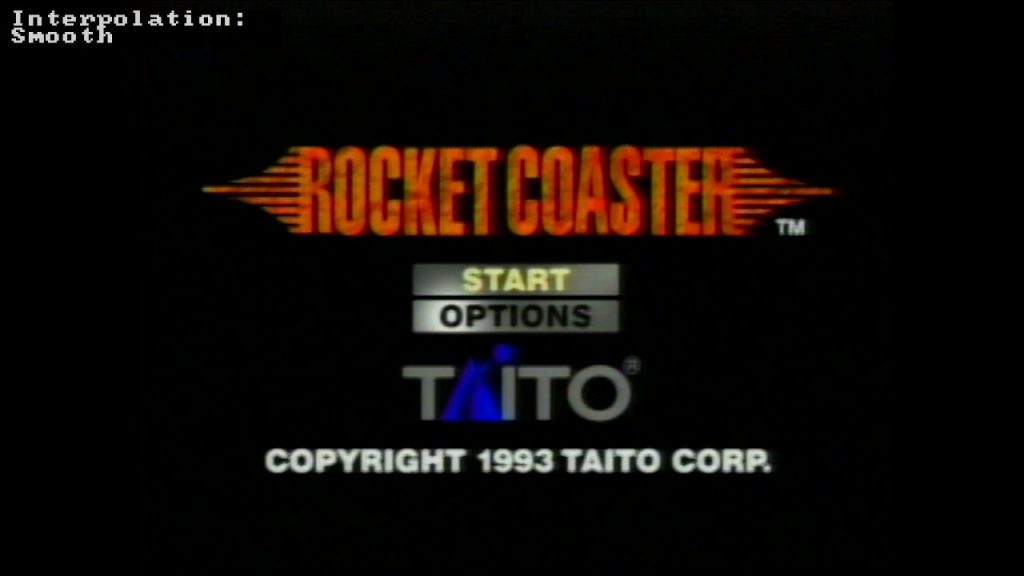
It looks pretty good! That being said, the smoothing really isn’t necessary in gameplay itself; it’s just particularly noticeable on these menus, which are actually single frames of 240p video.
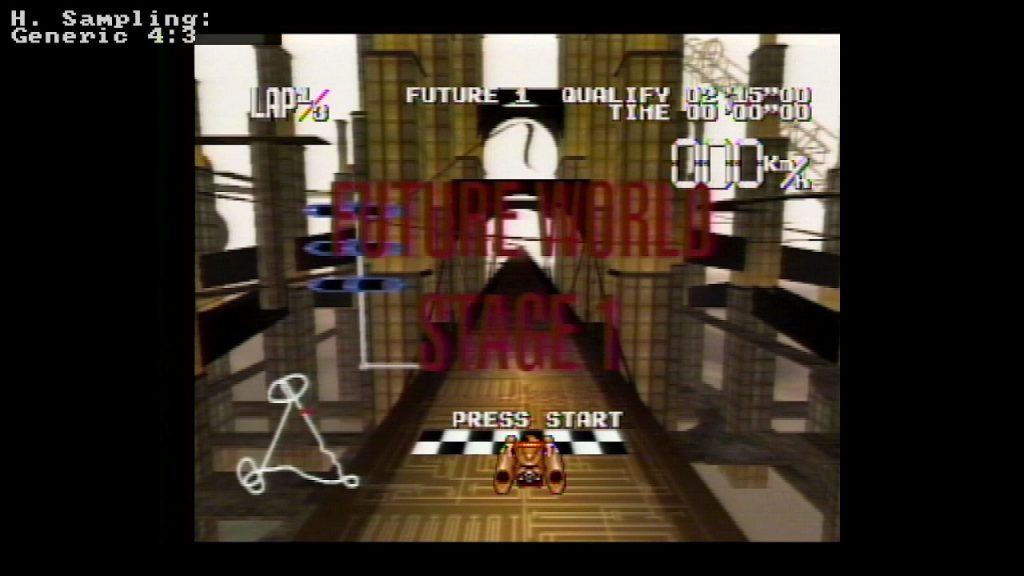
Within the game, there is some rainbow banding, but overall it looks quite good. I think the fact that the “Future World” text is difficult to read is more the fault of Taito than it is of RetroTINK.
LaserDisc Video
This was something I was excited to try out, even if it’s a little outside of the common usage of the RetroTINK devices. The Pioneer CLD-A100 is not the highest-quality LaserDisc player in the world, lacking features like automatic disc side changing, but I don’t watch enough movies to have it worth having two LaserDisc players underneath my television.
So let me stress it: I am no cinemaphile. So this isn’t really a good description of using the RetroTINK-5X as a high quality video upscaler; it’s more just taking a look at it from the perspective of someone who cares a lot about video game graphic reproduction, but doesn’t know much about movies.
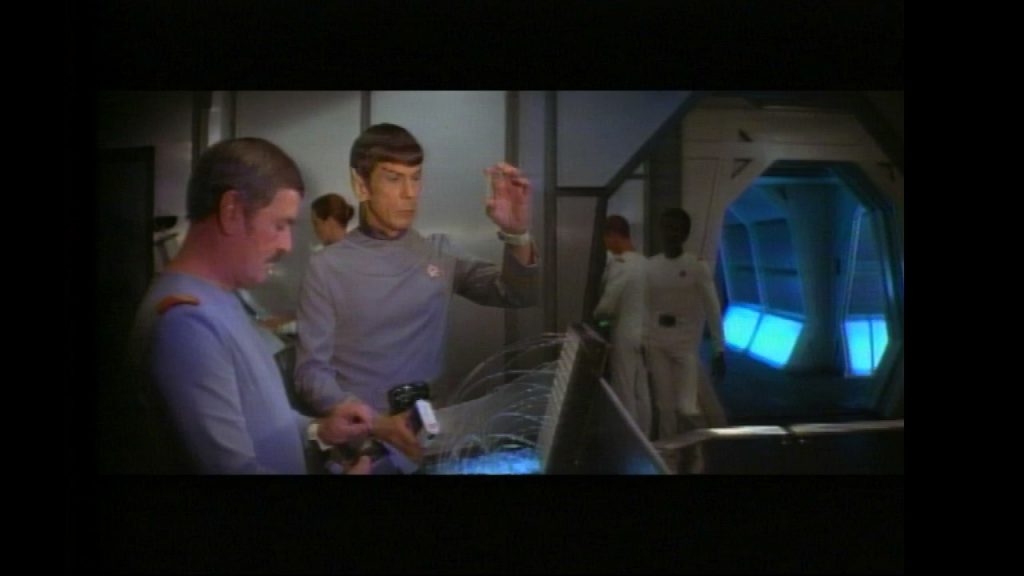
Since home video is usually designed to have overscan, using the RetroTINK-5X in its 1080p(OVER) mode is definitely warranted. Overall I found the RetroTINK’s motion adaptive deinterlacing to work pretty well for video content; for example, the scene above from Star Trek V, Spock’s rocket boots are in motion and moving on the camera, but no obvious deinterlacing artifacts are visible.
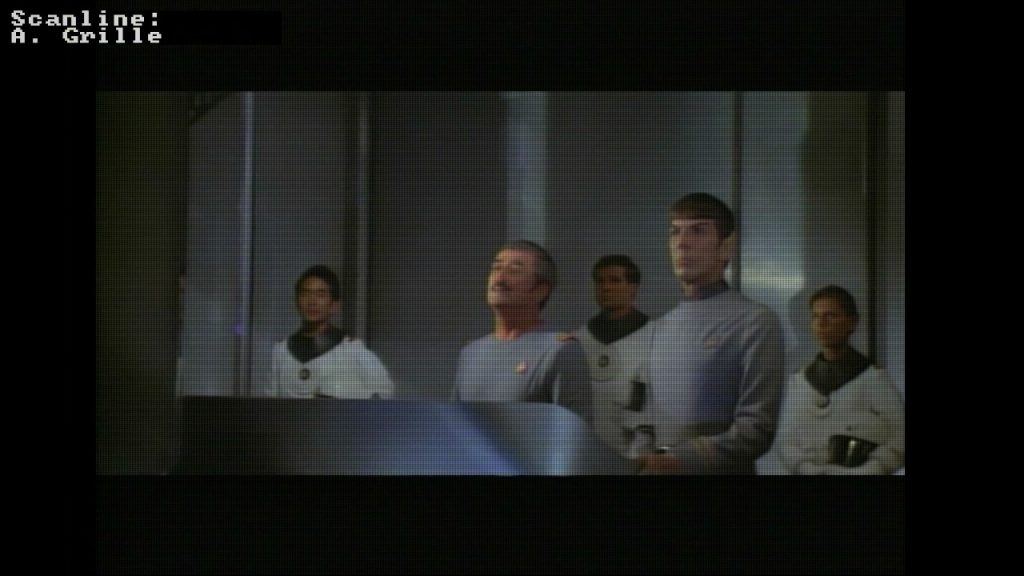
In this shot from Star Trek: The Motion Picture; the tradeoffs of deinterlacing are a bit clearer. Spock’s head is in motion, so his eyebrows in particular show lower resolution compared to Scotty in front, who is more stationary. The biggest downside for this movie, though, is that the RetroTINK-5X has no mode to get rid of the 16:9 letterbars and fill the screen. (Some televisions can do this even on their digital input, especially if the RetroTINK is placed in 480p mode, so there are options)
One thing I found surprisingly fun to mess with is using the RetroTINK’s scanline options on video content. Home video of this era always looks best on a CRT, so bringing a bit of the CRT look can work well. However, I only recommend doing this in high resolutions like 1200p or 1440p; even in my 1080p capture, this looks a little chintzy. (And of course, image compression ruins it)
Looking good!
I didn’t mean for this to sound like an advertisement; I’m just really impressed with the RetroTINK-5X Pro’s performance on the Pioneer LaserActive. It’s a challenging system to handle, and the upscaler handles it with ease and finesse. Composite video upscaling doesn’t always get the respect it deserves, but Mike Chi has really nailed it here. As the RetroTINK-5X is constantly getting firmware updates, I’m curious to see what can be improved, especially in the realm of scanline options.
